
How to Create a Paper Cut-out Effect Online (No After Effects Required)
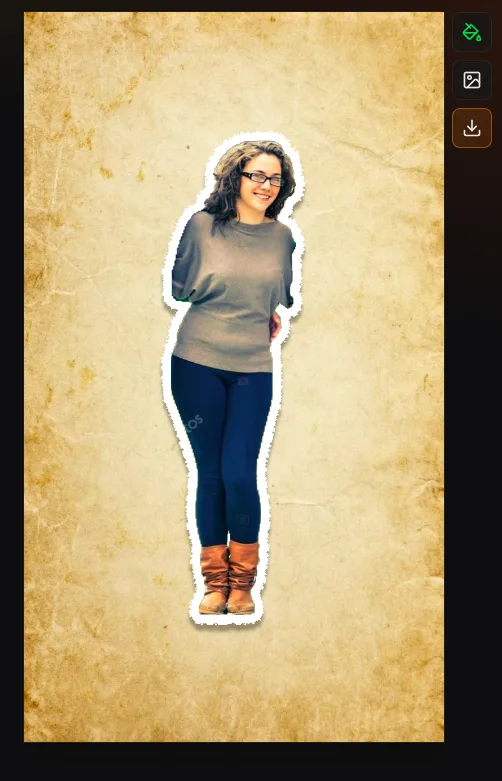
A paper cutout effect makes a photo look like a printed subject that has been cut or torn from a sheet, lifted with a small shadow, and placed on another surface. To create one online, isolate the subject, add a paper border and texture, choose optional movement, then export a transparent layer or finished animation.
The Paper Animation editor combines those steps in one browser workflow. It is free to use, requires no account, and processes the source image on your device.
What You Need
Use a modern browser and a JPG, PNG, or WebP photo. A clean silhouette makes automatic selection easier, but the background does not need to be perfectly plain. Decide how you will use the result before styling it: a transparent overlay needs a different export from a complete 9:16 social post.
- For a portrait: choose an image with visible shoulders and some space around the hair.
- For a product: use even light so the edge is distinct from the surface behind it.
- For a pet or detailed object: expect to use a slightly thicker border to hide tiny mask imperfections.
How to Make a Paper Animation Online
1. Upload and isolate the subject
Open the editor and upload, drag, or paste your image. Click the person or object you want to keep. An on-device machine-learning model creates a subject mask; the file is not uploaded to a Paper Animation server. The model helps with selection but does not generate a replacement image.
Fine details such as loose hair, transparent fabric, motion blur, and reflections are difficult for any automatic mask. Adjust edge softness when the outline feels too sharp. If you only need the isolated layer, the separate image background remover can export a transparent PNG without the animation controls.
2. Build the paper edge
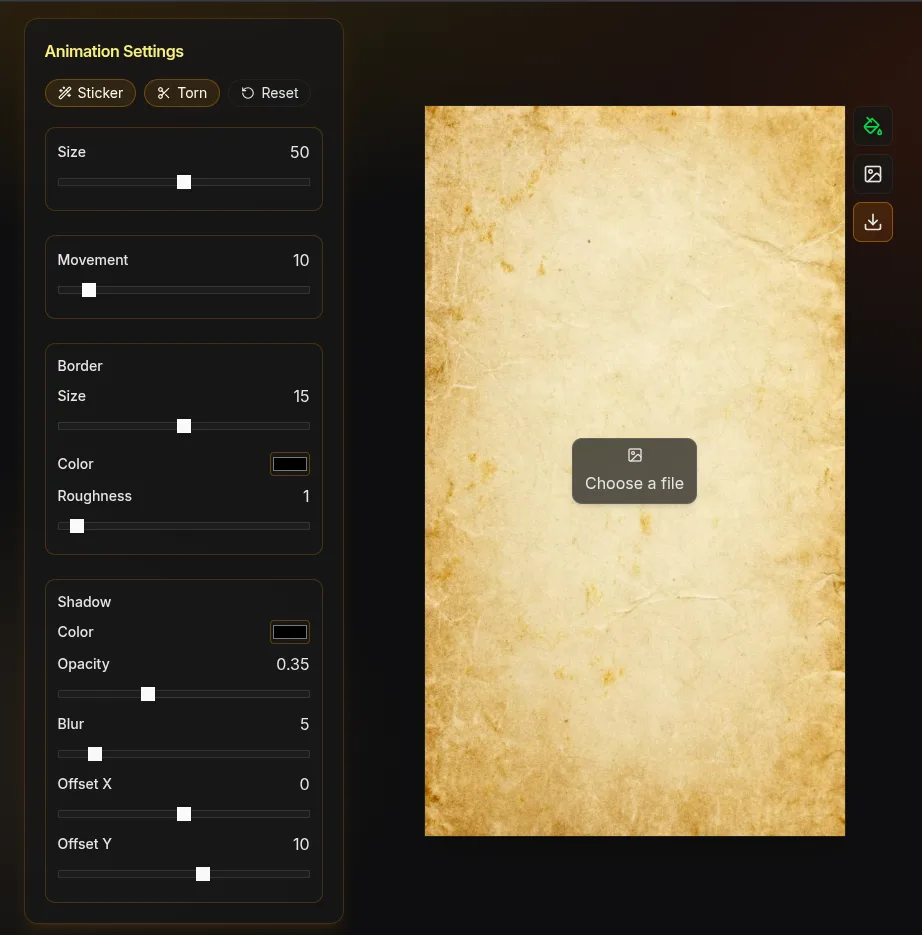
Border size controls how much paper is visible around the isolated subject. A narrow white edge feels like a careful magazine cut. A thicker edge reads more like a sticker and can make a small subject clearer on a busy background.
Roughness changes the outline from a clean cut to an irregular tear. Increase it gradually: too much roughness can remove recognizable detail around hands, hair, or product corners. Edge colour can match off-white paper, kraft stock, or a high-contrast graphic style.
3. Add texture and depth
Grain adds subtle fibre variation. Newsprint introduces a printed editorial feel. Kraft creates a warmer recycled-paper surface. Use texture as a material cue, not as a filter that hides the photo.
A drop shadow separates the cutout from the canvas. For a believable collage, keep the shadow direction consistent across every layer. A small offset and moderate blur suggest paper resting close to the surface; a larger offset makes it feel lifted.
4. Choose a motion style
Use the motion that supports the purpose of the shot:
| Motion | Best for | Starting approach |
|---|---|---|
| Paper boil | Portraits, documentary collage, music visuals | Low intensity so the face stays readable |
| Stop motion | Choppy handmade movement and playful edits | Moderate movement with visible timing steps |
| Float | Calm product or title sequences | Slow speed and a small vertical range |
| Bounce | Reaction stickers and energetic social hooks | Short duration with controlled scale |
| Fold-out | Introductions and reveals | Leave clear space around the layer |
The preview updates while you adjust speed and intensity. Watch the subject's eyes, text, or product label instead of the outer edge; if that focal detail becomes difficult to read, reduce the motion.
5. Set the canvas and export
Choose 9:16 for Reels, TikTok, and Shorts; 4:5 for portrait feed posts; 1:1 for square art; or 16:9 for regular video. Position the cutout with enough margin for its movement and shadow.
| Output | Use it for | Compatibility note |
|---|---|---|
| Transparent PNG | Stickers, thumbnails, posters, and still overlays | Works in most design and video editors |
| Transparent WebM | Animated overlay with an alpha channel | Use an editor that supports WebM transparency |
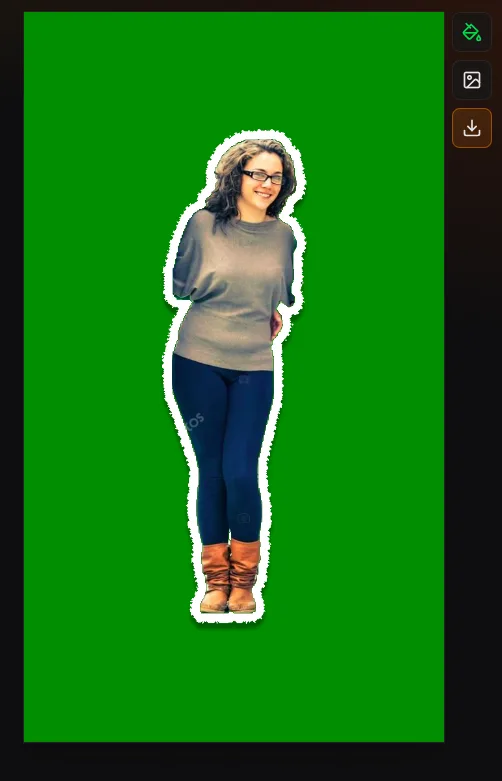
| Green-screen video | Chroma key in a wider range of video tools | Remove green with the editor's keying control |
| Solid or paper background | A finished social clip | No compositing step is required |
Choose 720p for a faster, lighter draft and 1080p for a final HD export. Long duration, high frame rate, and 1080p output use more memory, especially on older phones.
Three Practical Paper Cutout Recipes
Clean creator portrait
Use a white or warm off-white border, low roughness, subtle grain, a short shadow, and gentle paper boil. Place the portrait to one side of a 9:16 canvas so captions can occupy the other side.
Scrapbook product card
Choose a thicker border, kraft texture, moderate roughness, and a stronger diagonal shadow. A still frame or slow float keeps small package text readable. Export a PNG if the product will be arranged with other layers in the paper collage composer.
High-energy reaction sticker
Use a bold edge colour, medium roughness, and a short bounce. Export with transparency when the editing app supports it, or use green screen for a chroma-key workflow.
Common Problems and Fixes
- The subject edge looks jagged: reduce the source size if it is extremely large, lower edge roughness, and add a small amount of softness.
- Hair disappears: choose a frame with more contrast behind the hair and keep a visible border around the selection.
- The animation feels digital: reduce movement, add a restrained grain texture, and use stop-motion timing instead of a perfectly smooth float.
- The cutout leaves the canvas: reduce intensity or move the layer farther from the canvas edge before export.
- Transparent video will not import: try green-screen output and remove the background with chroma key in the destination editor.
- The phone runs out of memory: shorten the animation, use 720p, lower the frame rate, or complete the final export on a desktop browser.
Paper Cutout Effect Questions
Can I make the effect without After Effects?
Yes. The browser editor handles subject isolation, paper edges, texture, shadow, movement, canvas sizing, and export. A full timeline editor is still useful when you need audio mixing, multi-scene cutting, or precise keyframes.
Does the tool add a watermark?
No. The current exports do not add a Paper Animation watermark, and no account or credit pack is required.
Is this generative AI?
No. Machine learning helps select the subject in your existing photo. The tool does not create a new scene or animation from a text prompt; you control the paper styling and movement.
Create Your First Paper Cutout
Open the free paper animator, add a photo, and start with a clean edge plus low-intensity boil. Once the subject reads clearly, introduce roughness, texture, and a stronger motion only where they help the final design.