
Paper Cutout vs. Digital Collage: What's the Difference?
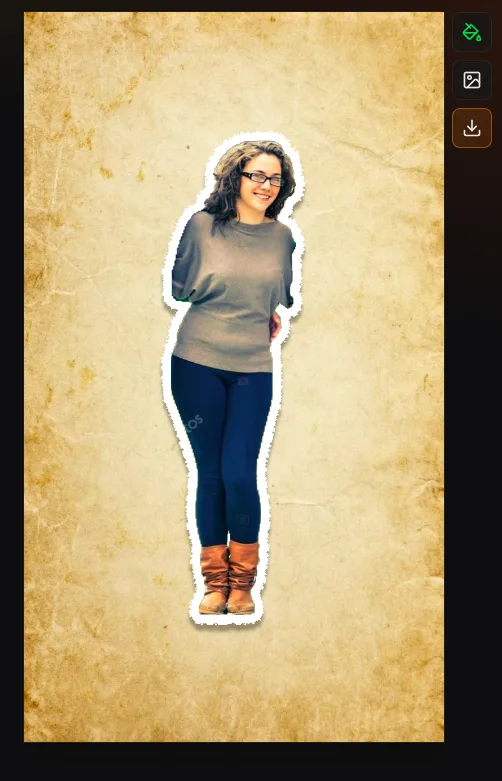
A paper cutout is an individual shaped asset; a digital collage is a composition assembled from several elements. They are compatible techniques. You can turn a portrait into a paper-styled cutout, combine it with magazine letters and other images, then export the finished collage.
Which part of the job are you doing?
| Question | Paper cutout | Digital collage |
|---|---|---|
| Main task | Isolate and style one subject | Arrange several visual elements |
| Key controls | Mask, border, roughness, texture, shadow | Position, scale, rotation, stacking order |
| Typical still output | A transparent PNG layer | A finished scene or layout |
| Where motion happens | A cutout preset or a timeline editor | A timeline or compositor when elements need separate timing |
Make the cutout first
In the paper animator, upload a JPG, PNG, or WebP and click the subject you want to keep. Inspect hair, hands, product handles, and other thin details before styling. Automatic subject selection is convenient, but a busy background or a transparent object can produce an incomplete edge.
Choose the border width around the intended use. A bold sticker border can separate a face from a busy composition; a thinner edge can look more like a carefully cut photograph. Roughness changes the torn outline, while grain, newsprint, and kraft treatments change the surface. Use the Original photo option if accurate colors and small text matter.
Export with a transparent background when the asset needs to sit over other elements. A JPG source can become a transparent PNG after subject isolation. A PNG file with a solid background, however, is still an opaque rectangle: the file extension alone does not prove that it contains transparency.
Assemble the digital collage
- Create and download each cutout as a transparent PNG.
- Open the paper scene composer and add your image layers. The current tool accepts up to eight.
- Drag each layer into place. Adjust size, rotation, and opacity in the selected-layer controls.
- Move a selected layer forward or backward to control which shapes overlap.
- Add a headline and choose a background. Export the completed scene as a 1440px PNG.
The composer makes a still layout. It does not provide a multi-scene timeline, separate animation tracks, blend modes, or audio mixing. If you need each element to arrive at a different moment, keep the separate PNGs and animate them in your video editor instead of flattening everything into one image.
Add typography without losing readability
The magazine-letter generator can create another transparent layer. Keep the phrase short, randomize until the characters remain legible, and compare the result at its final display size. Cutout text works best as a headline or accent rather than a replacement for every line of explanatory text.
Choose your export around the next step
Use individual PNGs when the next app needs independent layer control. Use the finished composer PNG for a poster, thumbnail, cover, or static scene. Use browser-supported video from the animator when you need preset motion. Transparent WebM requires alpha support in the next app; a green-screen version is an alternative for chroma key workflows.
Follow the cutout tutorial for masking and styling, or use the five social-video workflows to plan where a still collage or moving asset will fit.