
Top 5 Uses for Paper Animation in Social Media Videos
Five practical uses: paper cutout reaction stickers, product reveals, magazine-letter title cards, cutout transitions, and layered scrapbook scenes. Choose the output around the job: PNG for a still design, browser-supported video for movement, and a transparent or green background when the result needs to sit over another clip.
These are creative starting points, not a promise of higher engagement. The examples below explain what you can build with the current tools and what still needs a separate video editor.
1. A reaction sticker over a tutorial
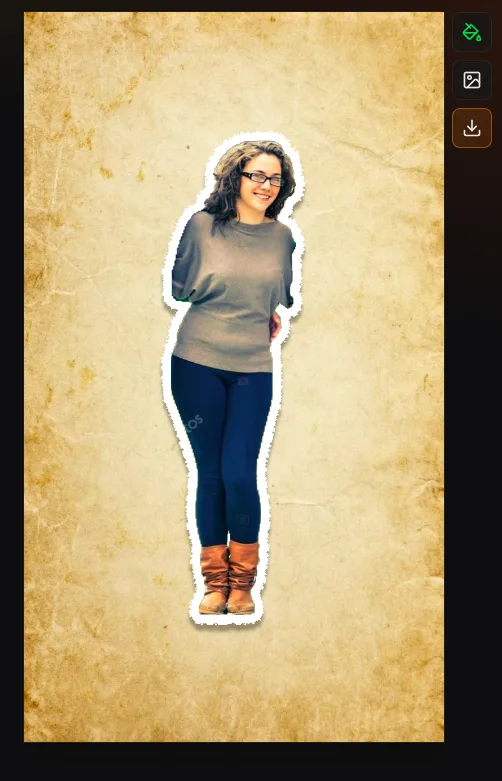
Open the paper animator, add a clear portrait, and click the person to isolate the subject. Use a narrow border and a restrained shadow so the sticker does not overpower the tutorial. Choose Paper boil for a light wiggle or Still when the face needs to remain completely stable.
Start with a low movement intensity and preview the full silhouette. Leave room around the subject so the border and motion stay inside the canvas. Export a transparent PNG for a still reaction or transparent WebM where supported for an animated layer. In your timeline editor, place the sticker away from captions, controls, and the action being explained.
2. A product reveal with a paper edge
Choose a product photo with a clear outline. Fine wires, glass, and a product against a similarly colored background can be difficult to isolate automatically. Inspect the selection before adding an edge; a large border cannot recover product detail that was excluded from the mask.
Keep the Original photo texture when label text or packaging color matters. Try Gentle float for a quiet reveal, or Paper fold-out for a more visible entrance. Fold-out compresses and expands the cutout horizontally; it is a stylized reveal rather than a physical origami simulation. Choose 4:5 for a portrait feed composition or 9:16 for a vertical video asset.
3. A magazine-letter title card
Use the magazine cutout text generator for a short title, guest name, or chapter label. Randomize the letters, then check every character for readability. A mixed-font phrase that looks good at full size may become unclear on a small phone screen.
Export a transparent PNG and place it over a plain background or your finished cutout. For a static composition, the paper scene composer can combine image layers and a headline. For moving typography, cuts, music, and captions, assemble the assets in a timeline editor; downloading a PNG alone does not create an animated title.
4. A cutout transition between clips
Make a large cutout of a face, object, or logo and export it as a still PNG. In a separate video editor, animate that layer across the screen or scale it until it covers the frame, cut to the next clip beneath it, then move it away. The paper animator prepares the asset; the clip change and its keyframes belong in the timeline.
If you use a preanimated cutout instead, choose the background your next editor can handle. An opaque video covers the underlying shot. Transparent WebM needs alpha support throughout the import and export workflow; a green-screen version needs a chroma key effect.
5. A scrapbook scene for a travel recap or explainer
Create each subject as a separate transparent PNG, then add the files to the collage composer. The current composer accepts up to eight image layers and lets you drag, resize, rotate, change opacity, and adjust their stacking order. It exports a 1440px PNG, so use it for a finished still or import that image into another editor for camera moves and scene timing.
Match border width and shadow direction across the cutouts. Leave space for the headline instead of filling every corner. For an animated sequence with independently moving subjects, export individual assets and arrange their timing in a full editor.
Check the file before building the full edit
- Make a short 720p draft to check playback and import compatibility.
- Preview text and faces at phone size before exporting the final version.
- Use only source photos, logos, and artwork you have permission to reuse.
- Keep the source files and note your settings so later assets can match.
For the complete selection and export workflow, follow the paper cutout tutorial. For more deliberate stepped movement, read the digital stop-motion guide.